Switching between Windows and macOS for development, the Windows Subsystem for Linux (WSL) is a good choice to have a similar experience on both sides. As WSL evolves into version 2, and I’m just re-installed Windows 10 on my PC, I’m going to install and config WSL2 on this “fresh” system.
Check requirements for running WSL2
To install WSL2, you must be running Windows 10+:
- For x64 systems: Version 1903 or higher, with BUild 18362 or higher.
- For ARM64 systems: Version 2004 or higher, with Build 19041 or higher.
- Builds lower than 18362 do not support WSL2.
To check your version and build number, select WIN + R, type winver, and select OK.
Install Windows Terminal
Just search and install the Windows Terminal in Microsoft Store. Though, you can still use PowerShell.
Install WSL2
Enable the Windows Subsystem for Linux
You must first enable the “Windows Subsystem for Linux” optional feature before installing any Linux distributions on Windows. Open Windows Terminal as Administrator, it will start PowerShell by default:
dism.exe /online /enable-feature /featurename:Microsoft-Windows-Subsystem-Linux /all /norestart
Enable the Virtual Machine feature
Before installing WSL2, you must enable the Virtual Machine Platform option feature. Your machine will require virtualization capabilities to use this feature.
Also in Windows Terminal with Administrator privilege, run:
dism.exe /online /enable-feature /featurename:VirtualMachinePlatform /all /norestart
After the above steps, you must restart your system to process the following installations…
Download the Linux kernel update package
Download the latest package:
WSL2 Linux kernel update package for x64 machines
If you’re using an ARM64 machine, please download the ARM64 package instead. If you’re not sure what kind of machine you have, open Command Prompt or PowerShell and enter: systeminfo | find "System Type".
Run the update package downloaded in the previous step. Double-click to run - you will be prompted for elevated permissions, select ‘yes’ to approve this installation.
Restart the system.
Set WSL2 as your default version
After restarting the system, let’s set WSL2 as the default version when installing a new Linux distribution. Still in Windows Terminal with Administrator privilege:
wsl --set-default-version 2
Install your Linux distribution of choice
Now, let’s open Microsoft Store, search for your favourite Linux distribution, and install it. I’ve installed Ubuntu for convenience.
Or, you can install Ubuntu or other Linux distributions with wsl commands:
After it’s been installed in Microsoft Store, launch it in Start menu, a console window will open and you’ll be asked to wait for a minute or two for files to de-compress and be stored on your PC.
You will then need to create a user account and password for your new Linux distribution.
In my case, after Ubuntu was set up, update and install some building tools:
sudo apt update
sudo apt install build-essential
Open Windows Terminal and open the settings with Ctrl + , shortcut. You should see the file settings.json.
Windows Terminal will start PowerShell by default, now let’s switch it to WSL2. You can achieve this by copying the guid value of your Linux distribution into defaultProfile in settings.json.

After that, you can choose a better colour scheme other than the default one. There are some pre-defined ones that you can select from Microsoft’s document. Or, you can define your custom colour scheme in settings.json, see more here. I still prefer Dracula colour scheme that I used in macOS Terminal.app:
In the settings.json settings file, find the schemes section and paste the following content:
"schemes": [
    {
        "name": "Dracula",
        "cursorColor": "#F8F8F2",
        "selectionBackground": "#44475A",
        "background": "#282A36",
        "foreground": "#F8F8F2",
        "black": "#21222C",
        "blue": "#BD93F9",
        "cyan": "#8BE9FD",
        "green": "#50FA7B",
        "purple": "#FF79C6",
        "red": "#FF5555",
        "white": "#F8F8F2",
        "yellow": "#F1FA8C",
        "brightBlack": "#6272A4",
        "brightBlue": "#D6ACFF",
        "brightCyan": "#A4FFFF",
        "brightGreen": "#69FF94",
        "brightPurple": "#FF92DF",
        "brightRed": "#FF6E6E",
        "brightWhite": "#FFFFFF",
        "brightYellow": "#FFFFA5"
    }
]
Next, find the profiles section and add a colorScheme value to the default profile:
"profiles": {
    "defaults": {
        "colorScheme" : "Dracula"
    }
}
To have a correctly working theme, you needed to download and install some needed fonts. For example, you can install powerline fonts using the PowerShell command prompt:
# clone
git clone https://github.com/powerline/fonts.git --depth=1
# install
cd fonts
./install.sh
# clean-up a bit
cd ..
rm -rf fonts
For me, I’d prefer Operator Mono fonts. Here’s a patched version, download and install the fonts manually, then configure the fontFace in settings.json:
"profiles": {
    "defaults": {
        "colorScheme" : "Dracula",
      	"fontFace" : "OperatorMonoSSmLig Nerd Font"
    }
}
Install oh-my-zsh
Run the following commands in WSL2:
sudo apt install zsh
sh -c "$(curl -fsSL https://raw.github.com/ohmyzsh/ohmyzsh/master/tools/install.sh)"
You may need to restart Windows Terminal for a new session.
git clone https://github.com/zsh-users/zsh-autosuggestions ${ZSH_CUSTOM:-~/.oh-my-zsh/custom}/plugins/zsh-autosuggestions
git clone https://github.com/zsh-users/zsh-syntax-highlighting.git ${ZSH_CUSTOM:-~/.oh-my-zsh/custom}/plugins/zsh-syntax-highlighting
git clone --depth=1 https://github.com/romkatv/powerlevel10k.git ${ZSH_CUSTOM:-~/.oh-my-zsh/custom}/themes/powerlevel10k
Now, let’s modify ~/.zshrc with the following content:
# Use Powerlevel10k theme
ZSH_THEME="powerlevel10k/powerlevel10k"

# Use plugins
plugins=(git zsh-autosuggestions zsh-syntax-highlighting)
Save the .zshrc file and source ~/.zshrc, the Powerlevel10k wizard should show up, which will guide you through the setup.
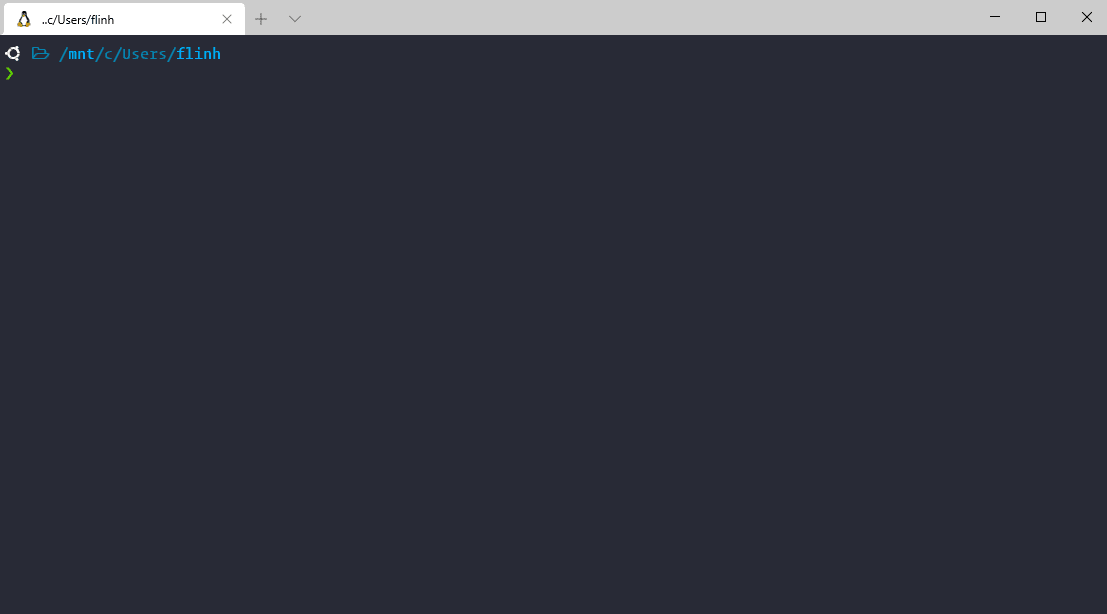
Eventually, the Windows Terminal will look like this depending on your configures in p10k:
If not satisfied, you can re-run p10k configure to overwrite the settings.
More about oh-my-zsh plugins and Powerlevel10k configuration.
Conclusion
Yeah, we’re done 🎉. With this setup, we can have a full Linux-like development inside WSL2 and a nice-looking Terminal with a similar experience on macOS.